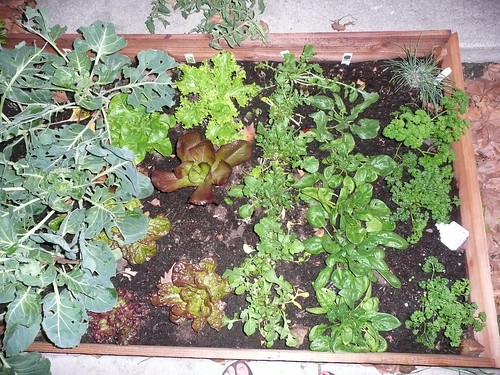
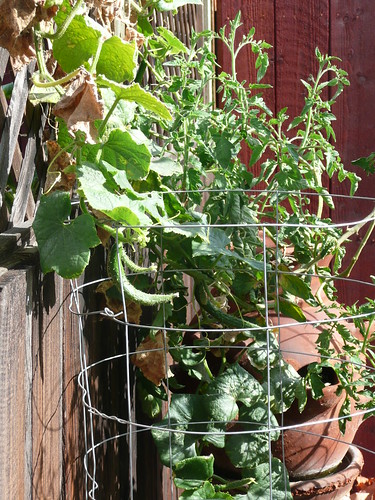
The Garden Grows
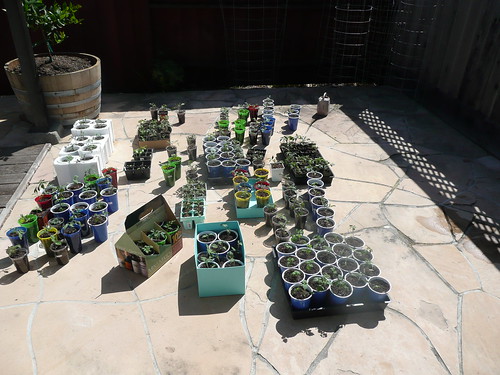
Literally. Exponentially. I think we may have planted a wee bit too much for this Summer, but there’s no way to know ’til it’s too late:

That would be:
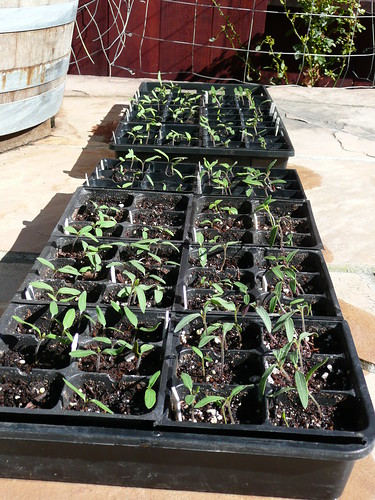
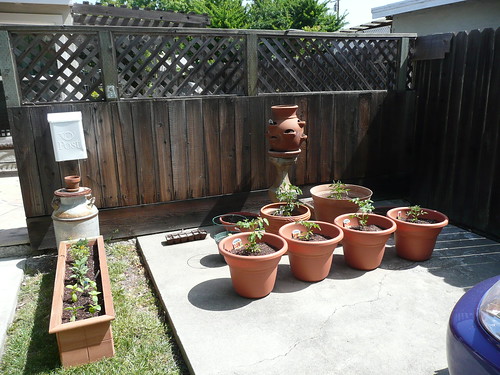
32 tomato plants
2 husk tomato plants
4 pepper plants (2 squash peppers, 1 jalapeno, 1 spanish pepper of medium heat)
1 japanese eggplant
1 japanese cucumber
1 american space-saver cucumber
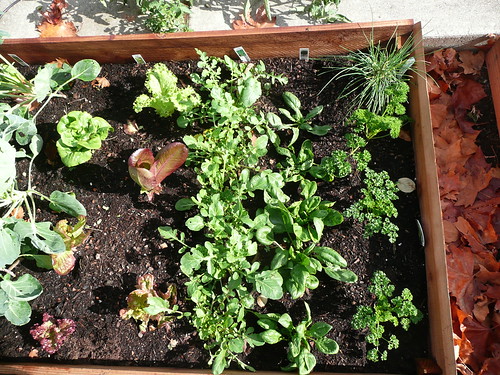
1 bok choy plant
1 mustard plant
2 butter lettuce plants
1 green/red lettuce plant
1 red lettuce plant
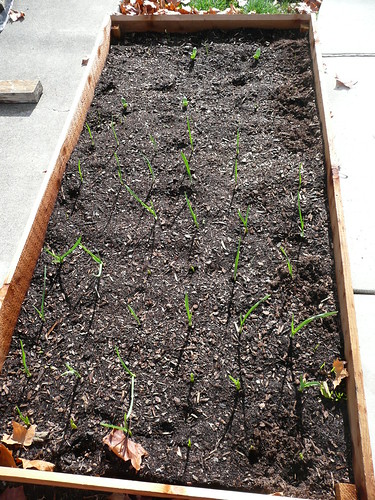
42 garlic stalks
1 artichoke plant
20-30 onions/leeks (or so) from the winter planting
100 onions/leeks from the spring planting (still waiting to be thinned)
1 mint plant
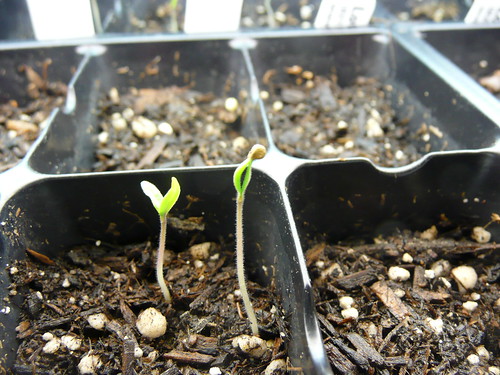
3 cilantro seedlings
1 rosemary plant
1 lemon thyme plant
1 greek oregano plant
1 marjoram plant
3 parsley plants
1 italian parsley plant
AND
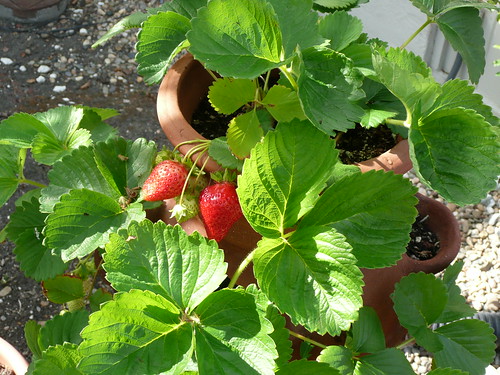
1 strawberry planter full of delicious strawberries (seriously, they were even better than the CSA strawberries, which were wonderful!)
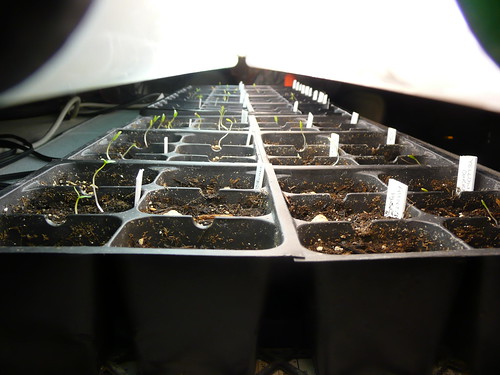
Plus seeds we are hoping will sprout of:
-okra
-nasturtium
-marigolds
-borage
-cress
-English thyme
-chives
-dill
-acorn squash
-butternut squash
-summer squash
-green summer italian squash (not zucchini, smaller and lighter green, more tender)
Not to mention the basil I haven’t transplanted yet…and a few unaccounted for spaces where I’m likely to plant even more seeds.
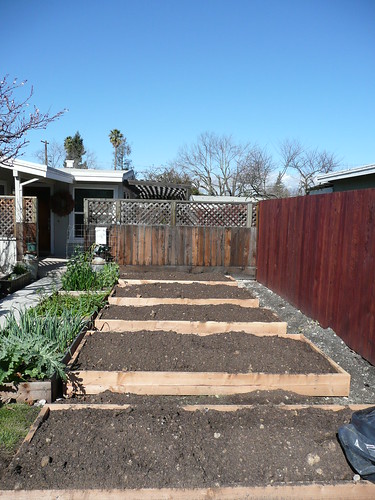
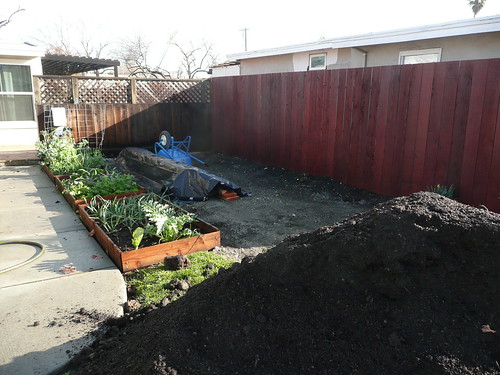
I think I may have a problem. Thank goodness that E and friends will be setting up the drip irrigation system this weekend. This is really starting to be too much to manage by hand.
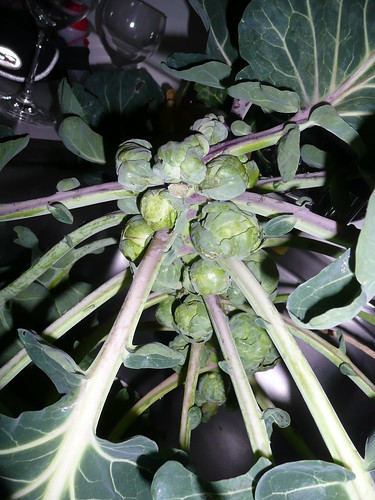
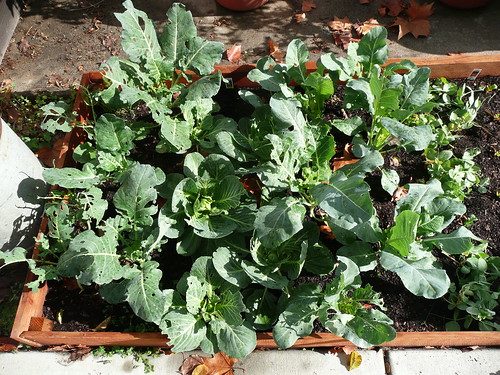
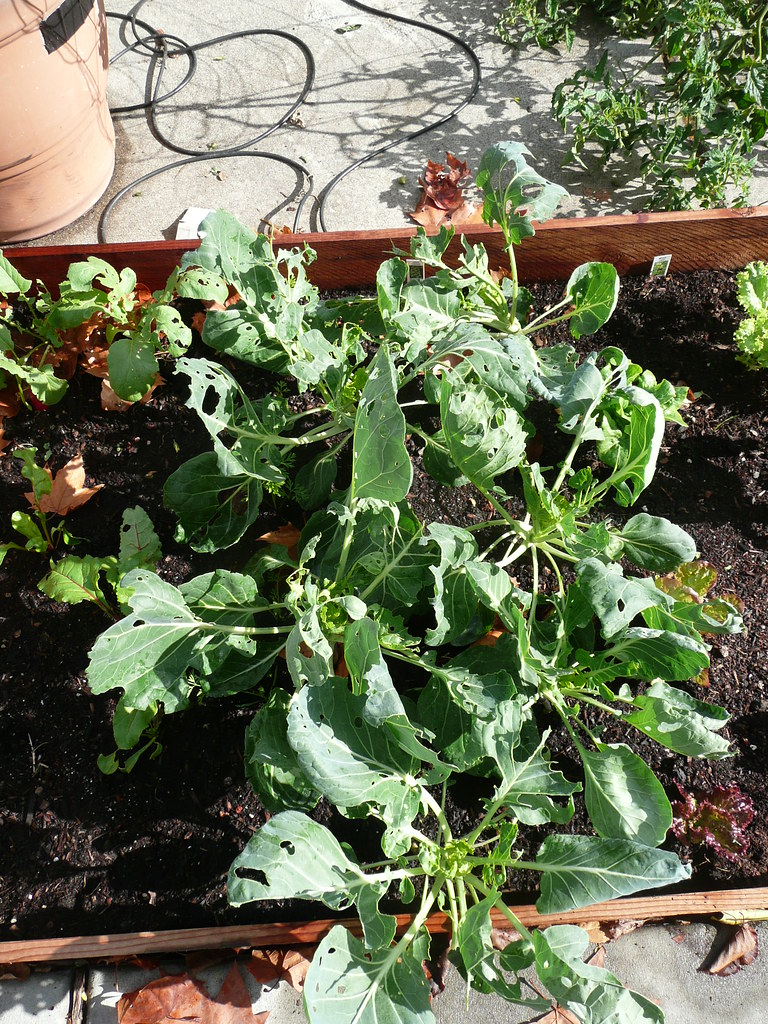
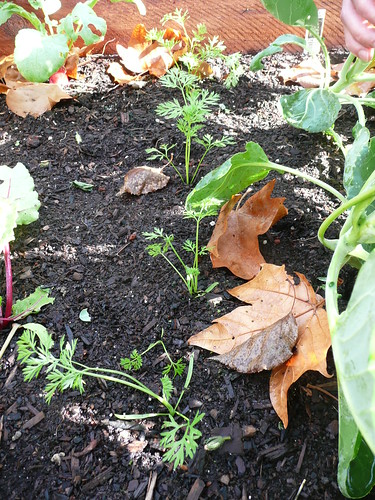
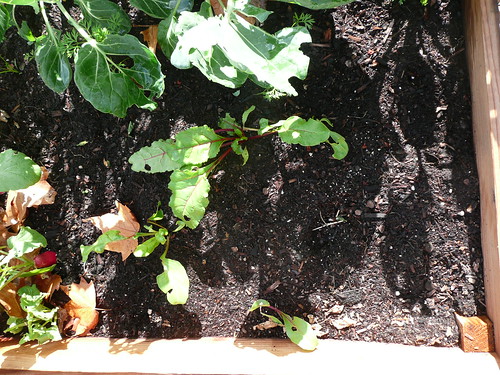
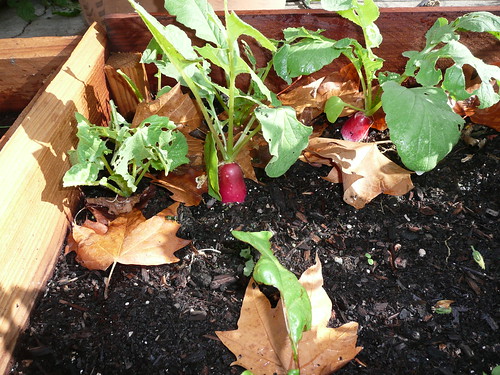
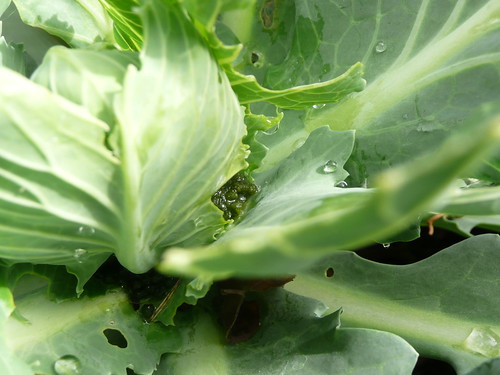
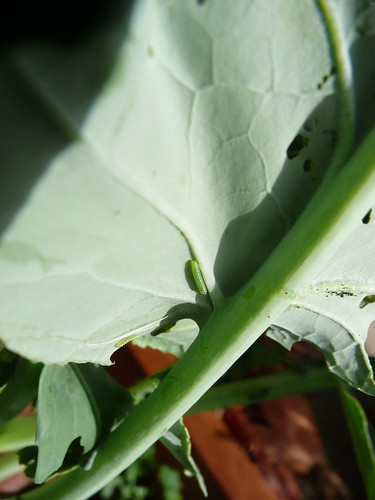
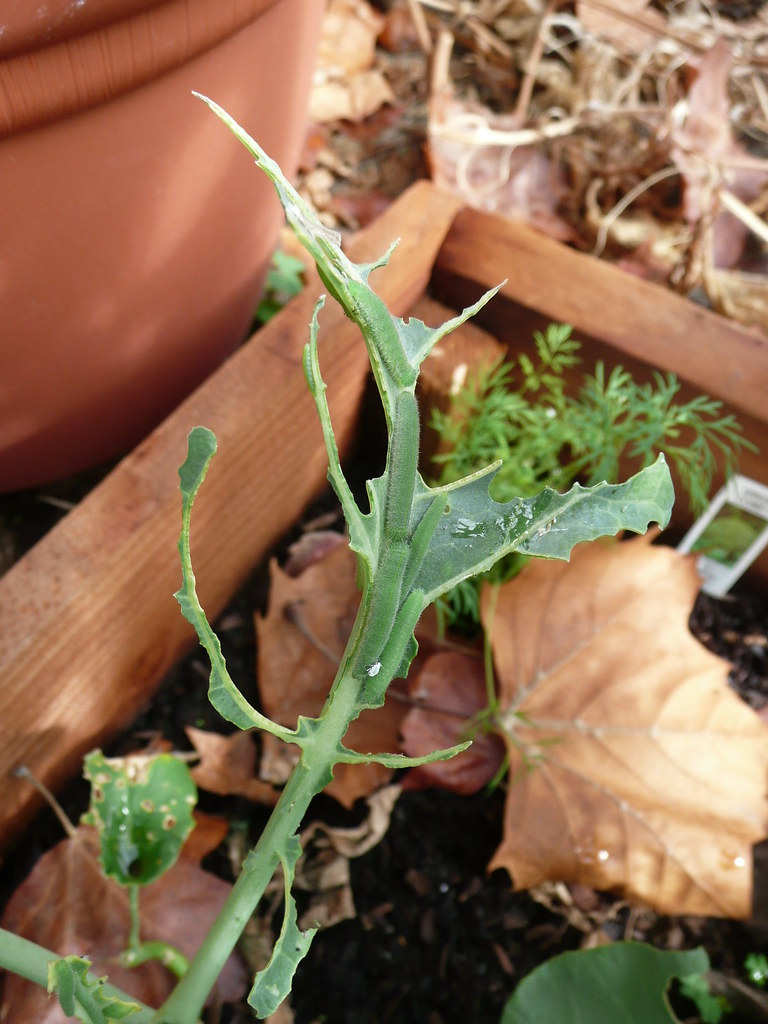
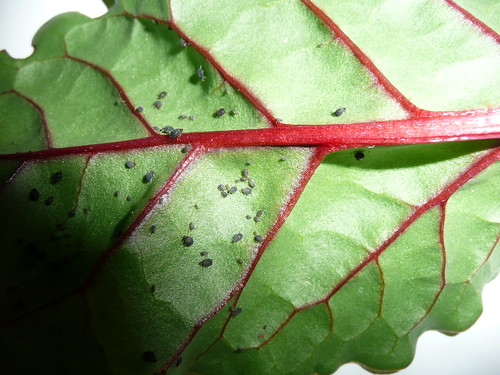
Finally, before we say our complete goodbye to the winter garden, we should be thankful for the broccoli, cauliflower, sugar snap peas, arugula (!!), chard, cabbage, beets, radishes, and carrots. The last 2 categories were the last to be picked to clear the way for the Summer garden. We were impressed that the carrots dug below the top soil and deep into the clay:

Simple Carrot Dill Bisque
Tonight, we used the roots in the picture above to make a carrot dill soup.
1. Sautee the tops of leeks and any sliced radishes, with garlic and chopped baby carrots from the CSA (along with chopped pieces of our mature carrots) in olive oil;
2. Add salt, pepper, water and simmer until carrots break easily with a spoon. Add milk to taste and puree with a hand blender;
3. When you have the consistency you like, add chopped dill, stir until fragrant and serve immediately.
Wish us luck for a summer full of good harvests and creative recipes!